


The key to any successful office fitout is in the planning. To help you achieve a stress free office fitout we have put together this step by step guide. A successful office fitout can be accomplished when all the steps are completed in the correct order and in a timely manner.
Step 1
Contact Impact Fitouts for a Fitout Consultation
Contact either John & Ilias to discuss your project…
Step 2
Book in a site meeting with John or Ilias and submit relevant Documentation
A. Book in a time with either John or Ilias that suits you
B. Once time is confirmed, please send all documentation through email so we can start working on your project before our site inspection…
Relevant Items to Send
• Relevant Contacts
• Property Information
• Concept or construction plans
• Proposed construction date
• Proposed Start of Business date
• Estimated Budget
Step 3
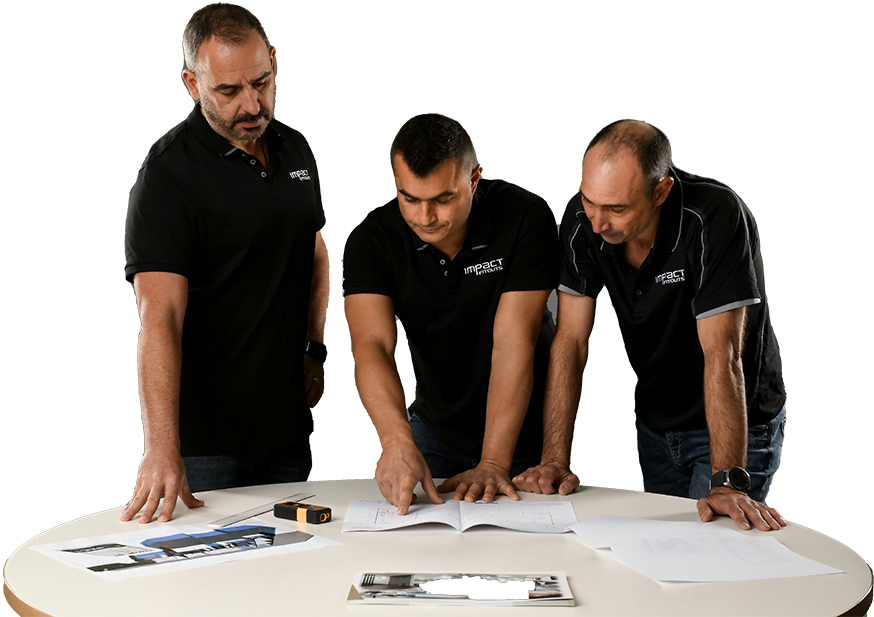
Initial Site measure, Confirm Floor plan & Scope of works
Below are some Items to consider when developing a scope of works for your office or warehouse fitout
Partition walls
• Framing – Steel Studs / Timber Studs – Stud Size – 64 / 76 / 90
• Walls generally to be lined with 13 – 16mm Plasterboard
• Sound insulation is a standard item to our new partition walls
• Aluminium skirting will be also installed to new partition walls
Glazing Walls & Windows
Doors
Screening
Painting
Plumbing
Kitchenette / Joinery / Workstations / Office Furniture
Electrical
Fire
Commercial Flooring
Step 4
Ballpark Quotation
A. To assist you in your decision making process, we will supply you with some preliminary pricing. Let’s put down your full wish list and we will then give you a ballpark quotation so you can get an idea of cost for your desired Fitout.
B. Based on the ballpark quotation you can decide if you would like us to proceed with a formal quotation or we can scale it back to meet budgets
Step 5
Quotation Amendments, Confirmation & Acceptance
A. Now that we are in your budget range we can drill down and confirm a formal quotation for your approval.
B. Once you are happy with the scope of work and our Formal quotation you can sign the acceptance page and return to us via email.
Step 6
Agreements & Deposits
Thank your Acceptance, our admin team will now send you through a deposit invoice.
Step 7
Engagement of Relevant Professionals
Now that we have received your deposit ( Thank you ) we can engage the relevant professionals.
• Draft men
• Architects
• Engineers
• Certifiers
Step 8
Submission of Licenses & Insurance paperwork, SWMS to Landlords / Building Managers
A. Our Admin team will promptly send through all necessary paperwork to you any landlords if needed
B. We will also arrange for appropriate SWMS and construction docs.
Step 9
Creation of Gantt chart, confirming Construction Timetables
A. Now that we have a start date we can create a Gantt to give you a fairly accurate Handover date.
B. We can track and monitor progress of you fitout now and aim to beat our proposed Handover date.
Step 10
Labour allocation, Material orders, bins & delivery book ins
A. We can now place Bin & Material orders.
B. Now we can lock in our labour team for a start date.
Step 11
Confirm Site Access & Landlord Approval
A. Before we start construction we will engage with the landlords or agents to confirm start dates and approvals to start works to avoid any delays.
B. We will confirm access and attain a set of keys and set up a lock box on site.
Step 12
Construction
Now the exciting part starts. Lets start Building.
Step 13
Handover & Final Payment
A. A Pre-handover meeting will take place approximately 3-4 days before scheduled handover to identify any issues or visible defects, this will ensure we have enough time to rectify any items before scheduled handover.
B. Final Payment will be due on Handover
Step 14
Occupancy Certificate
Certification & Occupancy Certificate will be provided upon Final Payment
Thanks for your interest in our services. Let us know when we should reach out and give you a call to discuss your project in more detail.
Thanks for your interest in our services. Let us know when we should reach out and give you a call to discuss your project in more detail.
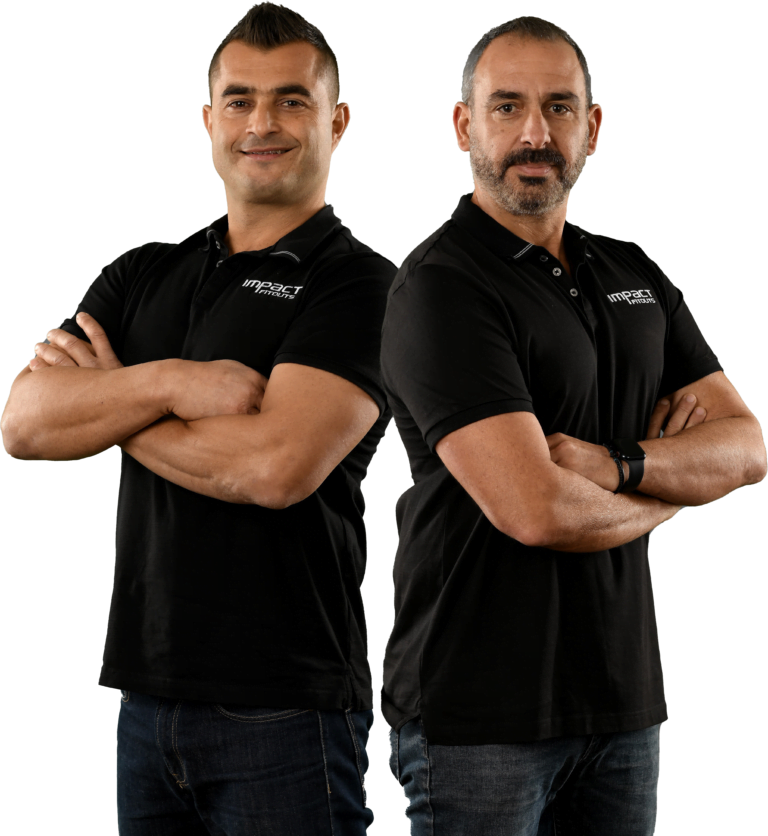
Ilias was born and raised in Brisbane, although having citizenship in Greece, Australia is where he calls home. From since he could remember Ilias always had a great interest in property, in particular Commercial Properties.
The ability for growth and uplift of any building and its contents was an exciting prospect for Ilias. Ilias has the ability to see a property for what it can be and not only for what it is now. Ilias has the creative mindset to guide you in the right direction, whether it be in working out the plan of your new fit-out or connecting you with the right contacts to enhance your business.
Ilias specialty is making your business, into his business when it comes to the your office fitout. With each and every fit-out completed, like it was his own, the high level of quality puts a smile on our clients faces. However, it is his dedication to servicing you and your needs that is where Ilias stands out from the rest. Impact Fitouts loves to see you and your business grow to new heights and want to be an integral part of that.
In addition to his professional pursuits, Ilias is known for his volunteer work. He believes in giving back to the community and has been involved in initiatives and taken roles on such as a the Vice President of a Greek community association. Through Impact Fitouts, Ilias not only sponsors the community association but also a local community soccer club – OLYMPIC FC in Yeronga, Brisbane.
Outside of Ilias’ dedication to fit-outs and the donating of his time, Ilias enjoys going to the gym. Working on his personal growth every day has become a priority in Ilias’ daily routine. Ilias is always there when a friend is in need and is known for his encouragement of others.
In summation with over 20 years experience in business ownership, lease negotiations and client interactions in commercial property, Ilias possesses a comprehensive understanding of what it takes to secure the perfect space for your business / enterprise. Whether it involves leasing, designing, or the delivery of quality fitouts, Ilias is well-equipped to handle every aspect for you.
Ilias is looking forward to creating relationships and doing business with you and prides himself in serving you and your business.
My name is John George Fronis, as long as I can remember I have been building something. Since 3 years old, I have been pulling apart toys and structures, breaking them, putting them back together and fixing them or at least trying to fix them. Each weekend I would build cubby houses, each one getting stronger and stronger as the years went on.
Forty-plus years later not much has changed except now I focus on creating sensational work spaces for businesses who are striving for greatness and ultimate success.
This is a great passion of mine as I love to see people and businesses flourish. I have always been a massive believer that a great fitout can be a catalyst for great success. This is why we spend a little more time on the planning process of your fitout to ensure the right layout and flow for your business.
I have been in the building and construction game since 1997 giving me over 28 years experience in this industry. I am somewhat of a perfectionist which means my tradesmen are on top of their game and my clients are happy ones. I believe in honesty and integrity in my personal life and through my business. At Impact Fitouts, we are an open book especially when it comes to quoting and pricing, this is an integral part for our clients to understand exactly where every dollar is being invested and is instrumental when requiring to adhere to a budget. Our main focus at Impact Fitouts is to create long term relationships with businesses, business owners and their employees, growing and evolving together over many years. We pride ourselves on the high quality of our fitouts and our level of service is unparalleled.
I am looking forward to meeting you and collaborating on your upcoming project.